
The cake above is by me. It's a one-person mini cake for Chelsea's birthday. The shoe and flower are made of chocolate. Fun huh? It was about 5 inches tall counting the shoe and 4 inches wide at the base. The flash makes the black look a little funny, but it turned out cute. Especially when you consider it was the second one I made since Ethan ate the first one for breakfast that morning before I woke up. He wasn't alone in his sneaking though. His little protege grabbed a measuring cup of sugar off the counter when I went to answer my phone.

His only response to getting caught was: More? More sugar? He's such a cute little monster.
The rest of the cakes are by my latest group of cake class students. They did such a great job!
At the end is a picture of some cupcakes I made for a baby shower. Click on the "read more" link for instructions on how to assemble them.


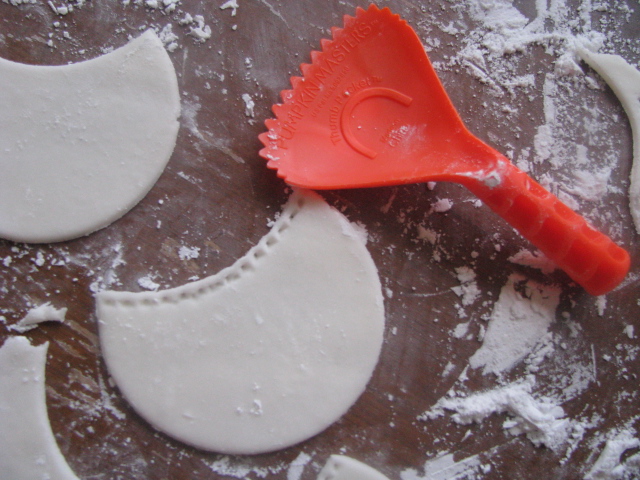
To make the little diaper cupcakes just cut out a circle and then use the circle cutter to cut a piece out of the top.

Then use a ridged tool-I used a thingy (technical term) from our pumpkin carving kit-to texture the top edge.


No comments:
Post a Comment